Pic

Pic

Monday, February 24, 2014

DIY moss balls

How was everyone's weekend? I thought today I would share my DIY weekend project. For a while now I have been wanting moss balls for decorating but everywhere I have seen them they are $10+ a ball so after buying 4 you would have $40 invested in moss balls. I always thought that was a little crazy so I've never went through with it. Well this past week my husband picked me up an adorable shabby coffee table at an estate sale. As I was pondering what I wanted to put on top of it I came back to the moss balls. I was determined now, so on Friday I went to Joanns and found the solution. They had a nice selection of the bags of moss and had the perfect color that I wanted (I like the deeper green color.) I grabbed the last 2 bags and then bought a package of the styrofoam balls that were on sale for 40% off. I used my 40% off coupon for the moss then they also had a 15% off coupon off your entire purchase. Long story short I got the materials to make 8 moss balls for a little over $10. I was so excited...I love that store!


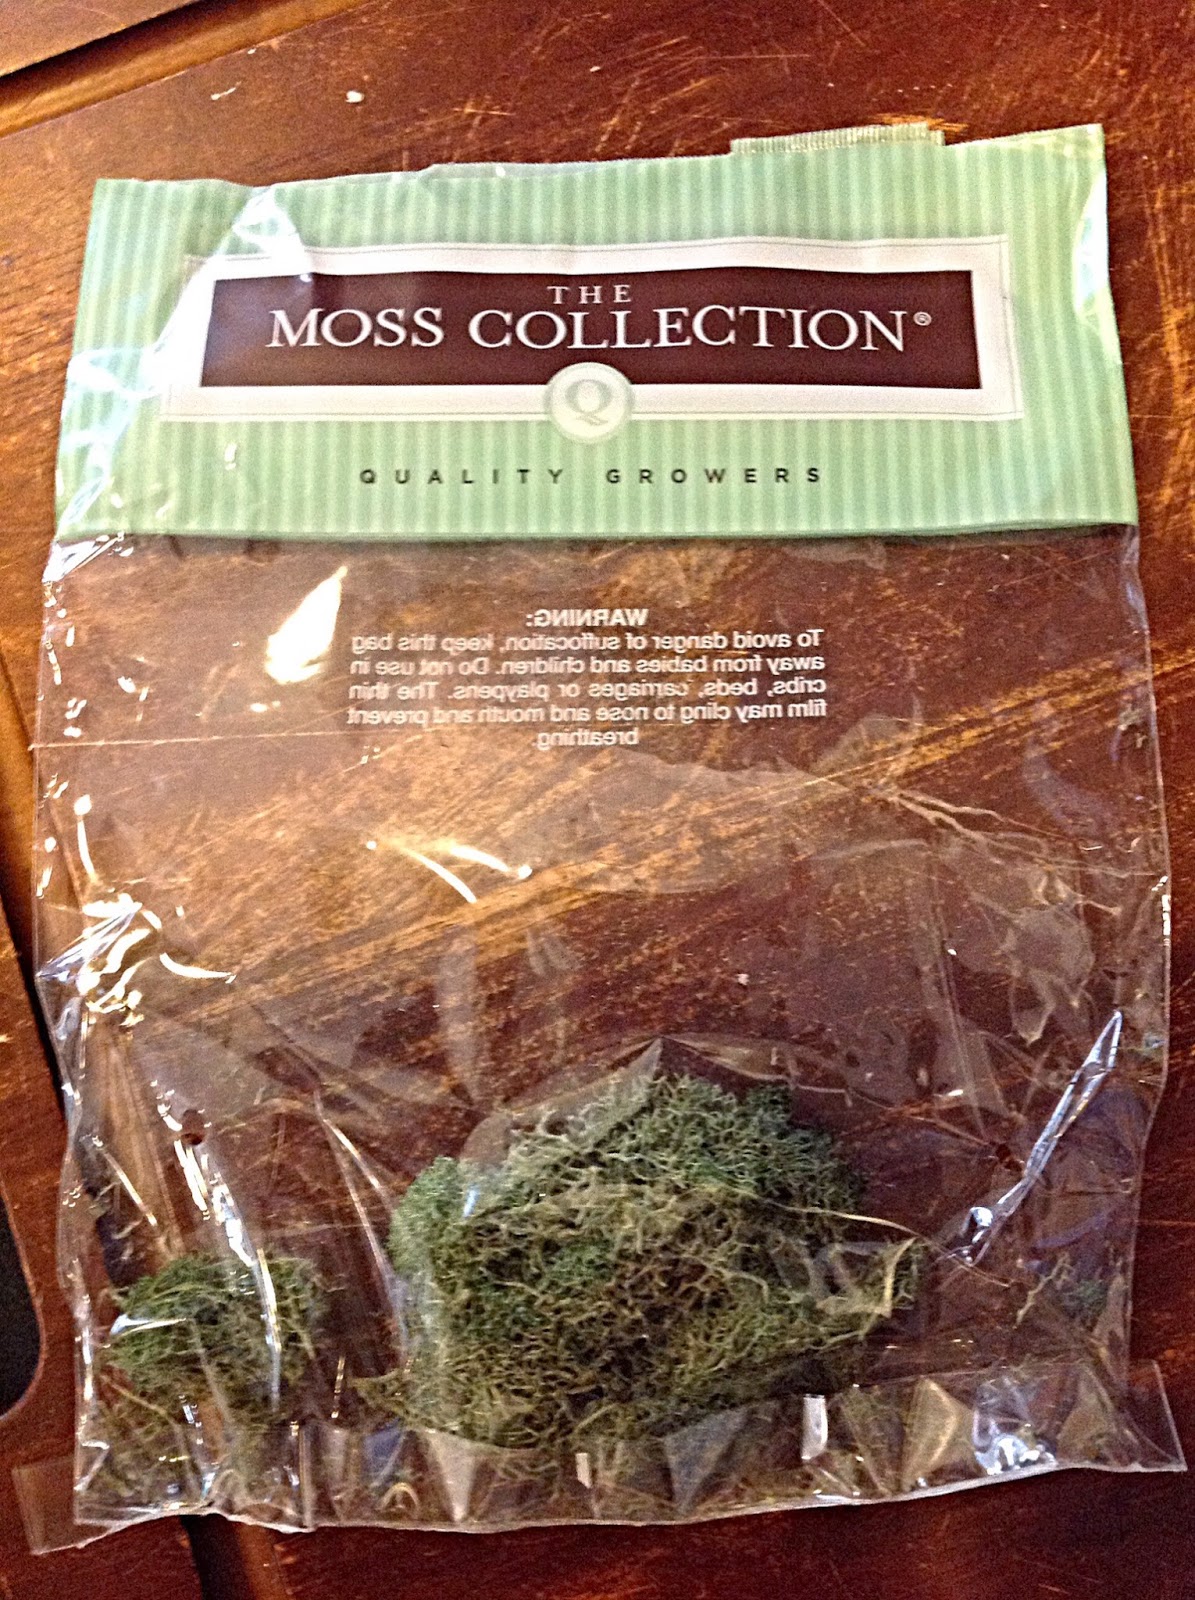
      This is a picture of the bag of moss I purchased.


This is after I hot glued moss on the styrofoam ball. I was pleased with the outcome.


This is a picture of the top of the coffee table. All of my moss balls are in a glass atrium type piece that I scored at TJ Maxx on clearance for $10. I loved the nautical type look of the knotted rope on top and the wooden bottom. I found this cute wooden basket with leather handles at Target. It was a raw wood color so I stained it a little darker to match all my other wood tones in the house and it gave it a more aged look I think too. Then I had 2 old vintage books I took from my collection and added them to the vignette as well because they were the perfect size and filled up the space nicely.


This is all of it together. This is the new (old) coffee table. I love the shade of green it is. 


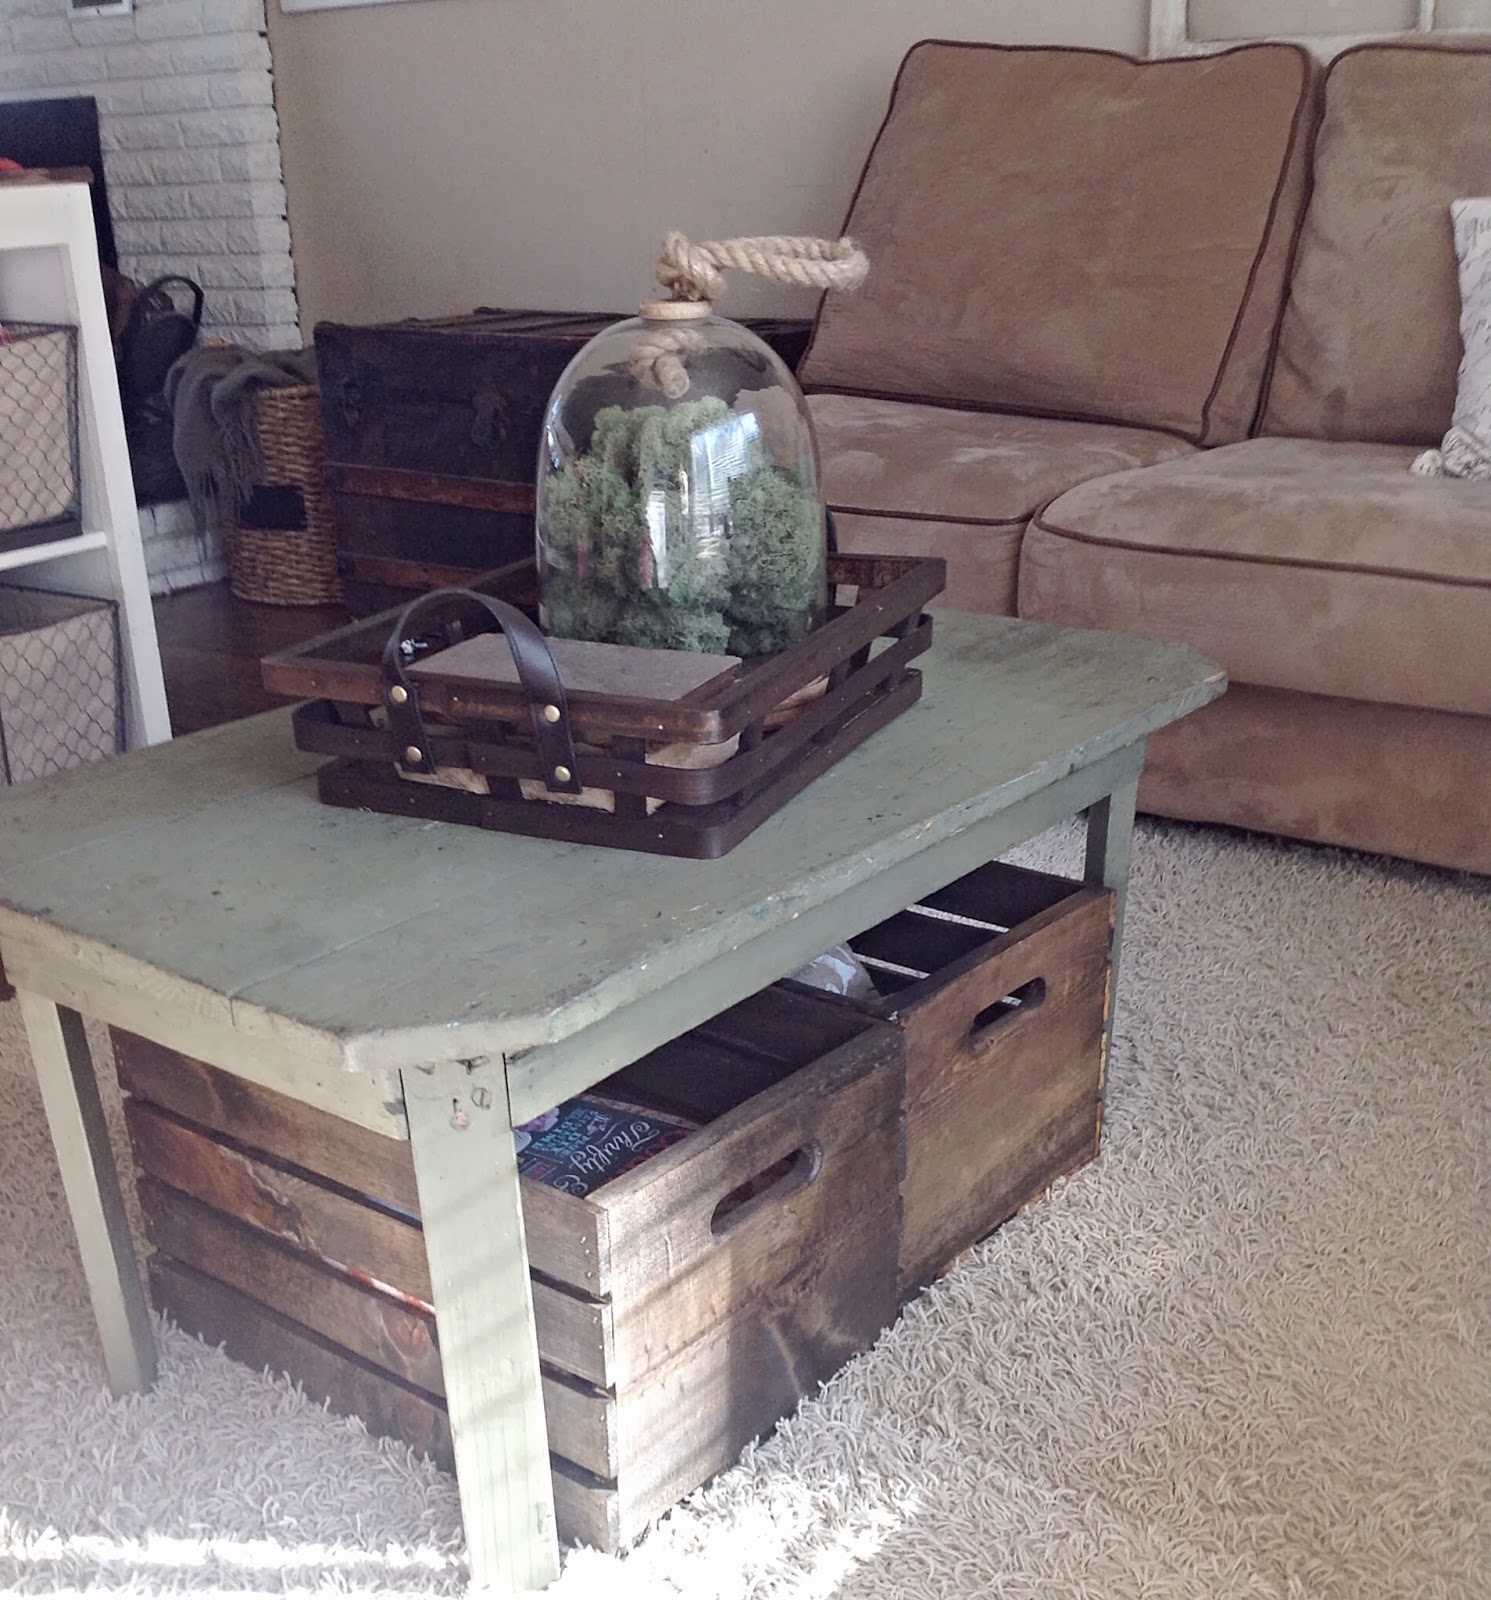
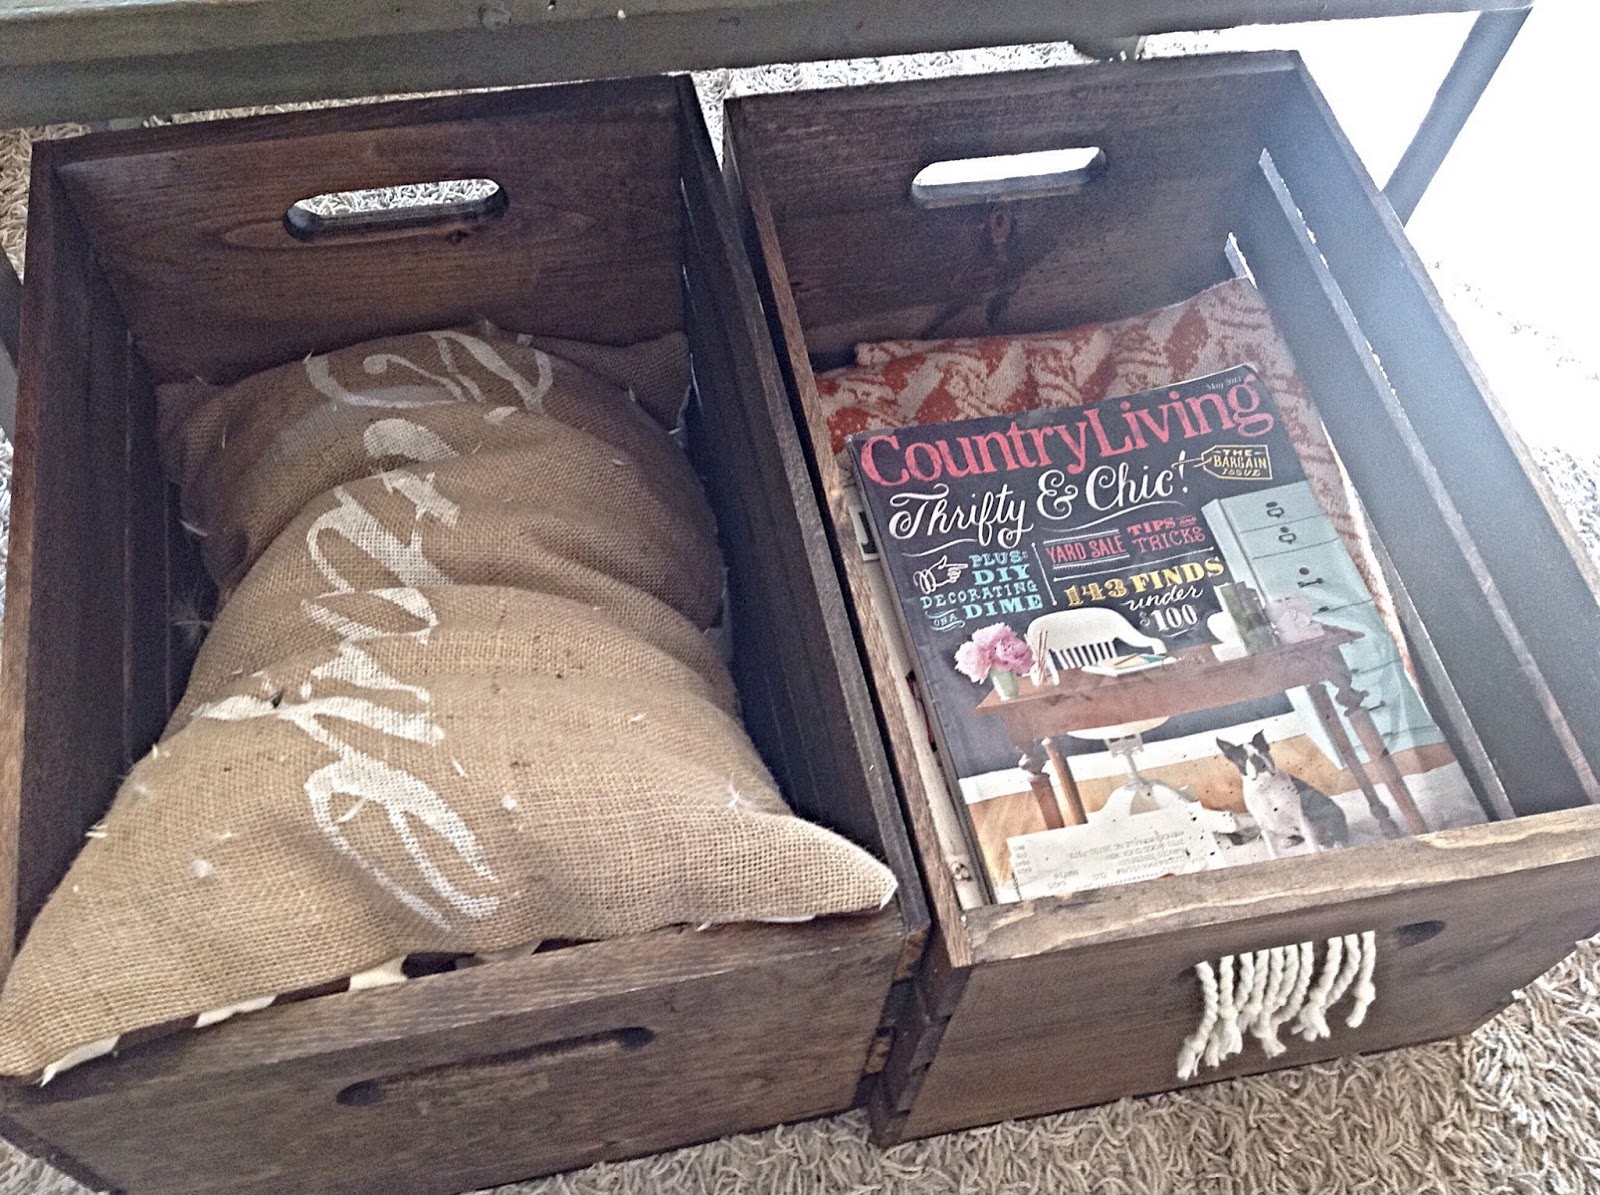
I added the stained crates underneath because they were a perfect fit and added extra storage and I'm all about extra storage. I store blankets, a pillow and magazines underneath right now.


I didn't have a coffee table before so I'm so happy now we have a place to put drinks and feet and anything else we want. My son has already used it for a racetrack for his matchbox cars so it seems the kids like it as well:) It's a beautiful day today so I think we will spend much of it outside. Hope everyone has a good week!


Monday, February 17, 2014

open shelves in kitchen

For a long time now I've been wanting some open shelves in my kitchen. There's not a whole lot of options for places to put them in my kitchen except for one spot on the end by the hallway. It's also the spot that is most visible from other rooms in the house (if you are going to display your pretties, you want people to actually see them:)) So I had been contemplating this for months and I finally made the decision to just do it. My husband has been super busy with the bathroom remodel and doesn't have time for all my little side projects I come up with so I thought I would just tackle it myself. I decided to leave the cabinet base there and just remove the door. That way if for some reason I ever decided to go back to wanting the cabinet, I could just add the door back and call it a day. I also like the way the cabinet base framed the shelves and it all flowed nicely with the rest of the kitchen. I then removed the ugly shelves that were inside. I went to Lowe's and bought a sheet of stain-able grade wood. I traced the old shelves onto the new wood so I had exact measurements then made my cuts. I then took my stain that I already had from staining my dining room table and stained the newly cut wood.


I then painted the entire inside of the cabinet the same color as the outside of the cabinets (which is like an antique creamy white) I think it's a pretty contrast to the dark stained wood.


I also used the existing gold little brackets that were already in there to hold the shelves up but I spray painted them oil rubbed bronze, which is my go-to spray paint that I use on so many of my projects. 
(Sorry forgot to take a picture of the before and after of that).


Here is the finished project that I did by myself in very little time and with very little cost. 


One day I may end up taking out the cabinet base and do complete open shelving but for now I am very happy with the outcome. I now have another place to display some of my treasures and it breaks up the boring row of white cabinets with some visual interest. Hope you like too!


Tuesday, February 11, 2014

1st birthday party

We are getting some snow today and it's supposed to keep snowing for the next 2 days! So on this snowy morning I thought I would finally go through some of my pictures on my camera. My little baby girl turned one a few months ago and we had a "vintage princess" themed party. I had way to much fun planning and getting all the props together for this party. I have a four year old son as well and love planning his parties too, but finally being able to plan a girly girl party with lace and pastels was a blast!:) I didn't want to spend a lot on this party so I tried to either make everything or use what was around the house. Thought I would share some of the pictures from the party...


The cake my husband and I made ourselves and I made the tutu to go around the cake stand.


Cupcakes and candies
The cupcakes I put on an old iron candle holder and put the candies in some vintage teacups and ironstone dishes.


A lot of the props I had around the house like the old chippy flower picture and the believe sign and the flowers and vintage laces.


Pink princess juice


I made the tissue paper puff balls..(there's one next to the believe sign) very simple but turned out so cute.


Her special cake to have all to herself (ended up all over the place:))


And my little princess enjoying her party...


I'm glad I finally got to look through all these...it's just a reminder how fast time really does fly by. Can't believe my babies are now 4 and 1!! Anyway I hope everyone has a wonderful day and if your getting the weather like we're getting...stay warm!! I'm going to enjoy the day by the fire!
Thanks for stopping by!


Wednesday, February 5, 2014

kids bath

While working on the master bath I have moved over to the kids bath for a little rearranging. Nothing too crazy but wanted something cute above the toilet and a place to hold extra toilet paper for guests. It's an extremely tiny bathroom with no room for storage! But that's ok I still love this bathroom because it is full of charm especially with the cute 1950s grey and black tile. Here's the new setup...


I found an old chalkboard that fit perfect in here with little wooden rods at the bottom which was just wanted I needed to hold the toilet paper! I put "floss, brush, wash, flush" because I thought that would be cute since it's the kids bathroom and was fitting. Underneath I hung my old, chippy red shelf and added a few galvanized pieces (I'm obsessed with anything galvanized) including my little punched tin tray. Then a white metal star I had that I took from another shelf, and my painted bumblebee sits in the bucket.


This is a side view.


This is a full view looking into the bathroom from the hallway. I also put a little chalkboard on the door that says "bath" so guests have no question which door it is when they walk through the hallway.
When we bought this house I left everything original in this bathroom including the cast iron tub (it's not pictured...it's to the right) except I changed out the old vanity to this one because this one is very narrow and allowed more walking room and I liked the sink bowl. I also changed out the not so pretty vanity mirror and replaced it with this black wood framed one. I love adding things to this bathroom because I would say 75 % of our guests use the restroom while they are here so I want to try to make it as cute as possible!:)
Thanks for visiting! I always love to read comments and any new blogs to follow!