Pic

Pic

Wednesday, January 29, 2014

master bath progress

The master bath is on it's last stages of finishing. It's been a few months since we started but my husband and I are doing it all ourselves little by little on the weekends and evenings. My husband had to make this bath from nothing because it was actually our old dining room, which was right off the master bedroom. We knocked out the wall between the two and put a door and then closed off the other wall that was open from the dining room to the kitchen (sorry if that's hard to follow.) So therefore my husband had to run all new plumbing, electrical, framing and all that not so fun stuff.  We have now put up Sheetrock and started tiling the shower floor. Thought I would give you a sneak peek:)

                                  This was the dining room before we closed it off.


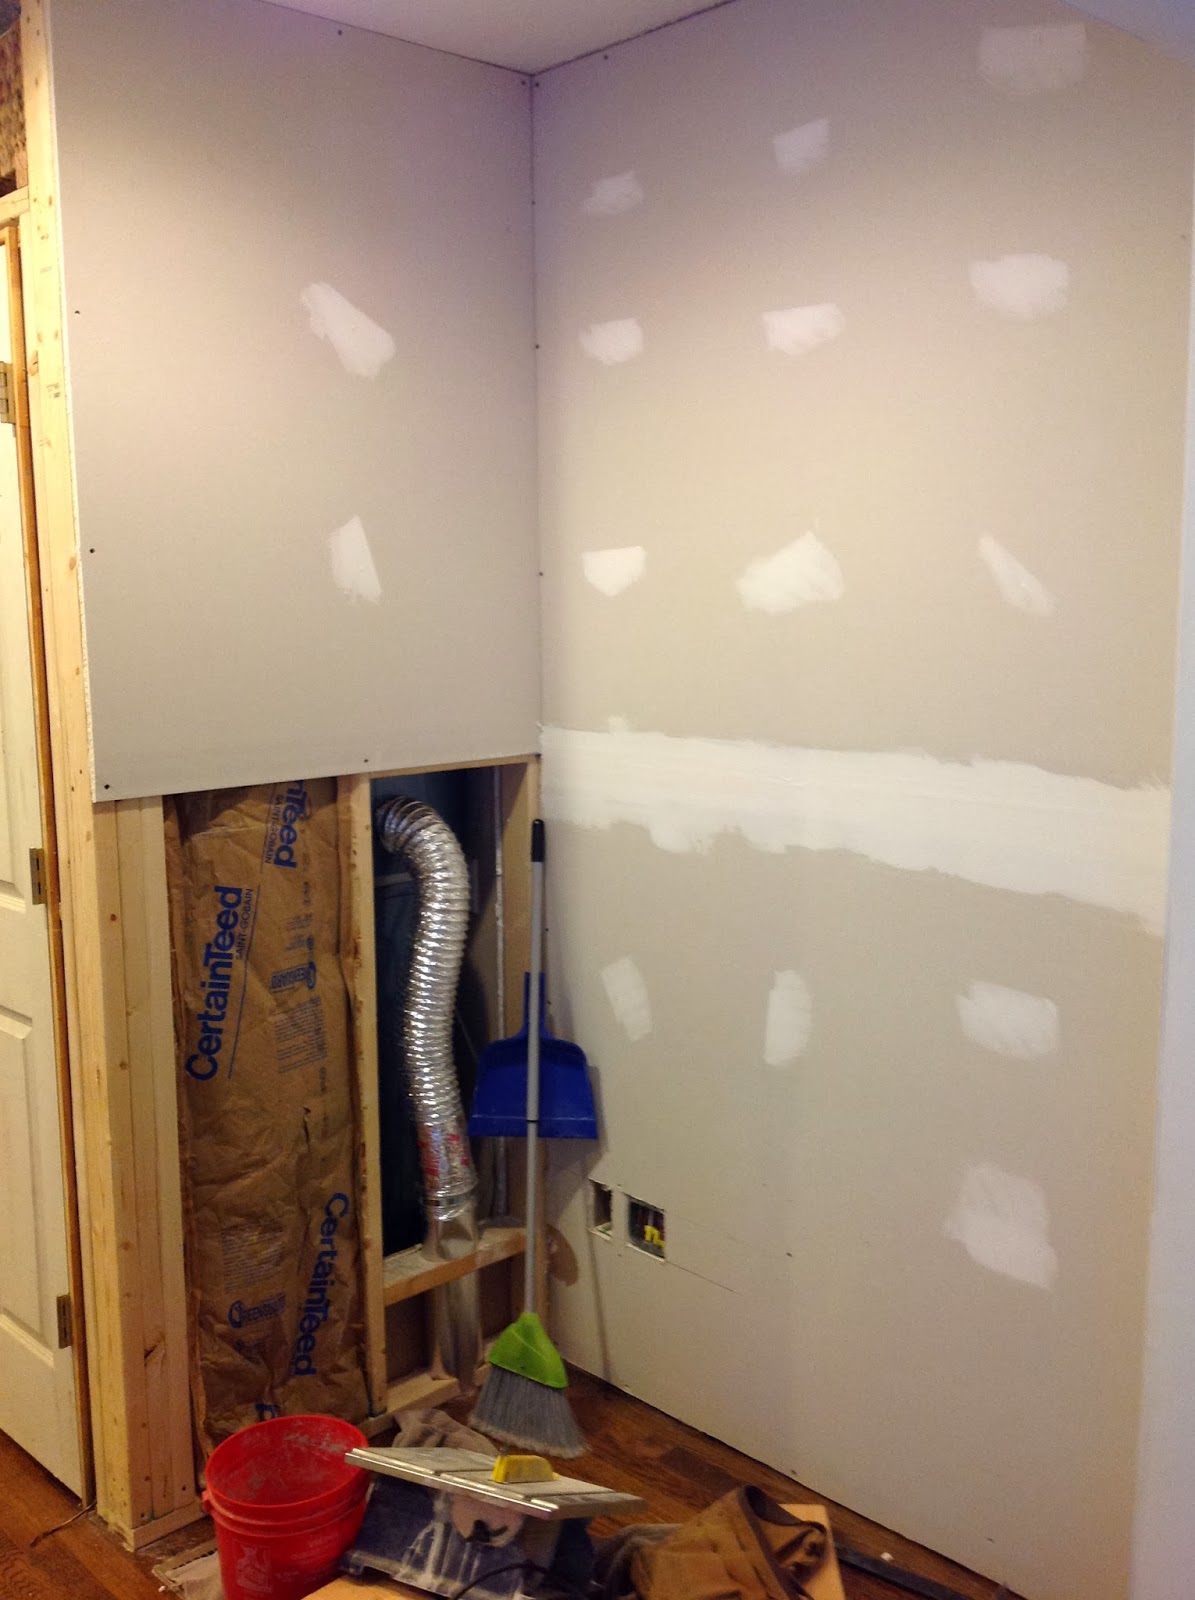
This is from the same point of view as the before picture, which is from the kitchen. As you can see we have closed off that wall now and added a little laundry closet. On this new wall we are going to wood plank the whole thing(it's not a very big wall) and add a small desk down low and barnwood shelves up top for displaying goodies:) I'm excited about that!


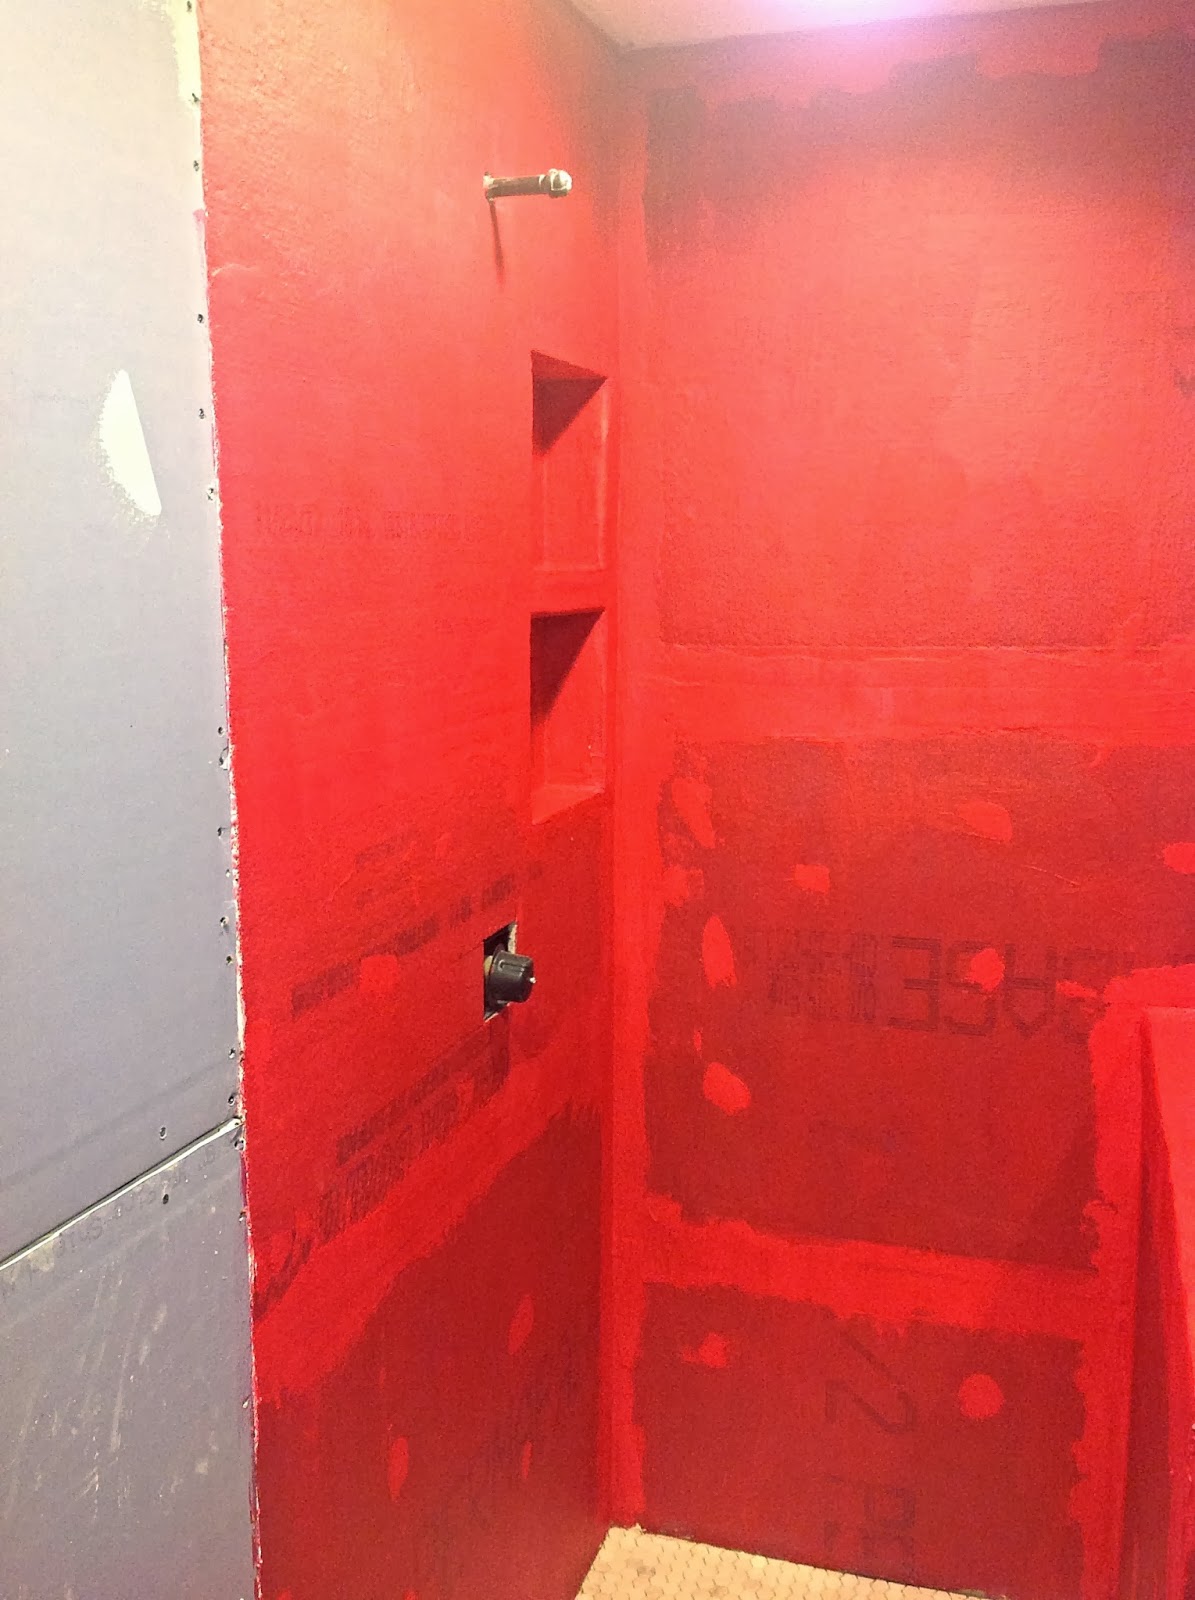
This is a picture from the master bedroom looking into the new bathroom. This is going to be the new shower. The red stuff is a waterproofing liner we put on before we tile. Probably can't tell a whole lot about the layout or anything because we haven't put the vanity or toilet in yet. It's a very small bathroom but it will be perfect for what we need and I can't wait to add all the finishing touches!


This is the shower floor tile. It's been layed but not grouted yet. I chose a small hexagonal pattern in a Carrara marble looking stone. I love them! They are white tones with a little bit of grey. The wall tile will be white subway tile. I was going for the simple, classic, timeless look. Sorry about the dark pictures, we don't have all the lighting installed yet.


The reason for doing this whole remodel is because we had a 2 bedroom 2 bath house previously. The 2nd bath used to be a 3rd bedroom but the previous owners converted it into a big laundry/bathroom, which was nice to have but after just recently having our 2nd child we really needed that 3rd bedroom back. The only problem was making that back into a bedroom meant losing that bathroom and having to all share one bath. After racking my brain for months and months I finally came up with the idea to close off the dining room and make that a master bath. That way we would have 3 bedrooms and 2 baths. Perfect solution...although I loved my little dining room and was a little sad to see it go, it will be well worth it. Plus the dining room has moved to an unused space by the front door by a big window with views of the mountains, so I'm getting used to that:)

So basically we have been living in chaos and Sheetrock dust and I can't wait for it to be done! Not only do I get to decorate my new bathroom but that also means I get to redecorate my sons room, and my daughters new room (they had been sharing a room.) I'm sooo excited about making my sons room boyish and my daughters room girly. Who knew one bathroom project would turn into 10 other projects? haha So I'll be having a lot of reveals in the next few months. 
Hope everyone has a Happy Tuesday!


Friday, January 24, 2014

chippy cabinet redo

Yay the weekend is finally here. Although it is Freezing here, I'm still happy it's Friday! I did some rearranging with my distressed chippy cabinet. I moved a lot of my ironstone into this cabinet and some of my vintage sewing supplies still on their original cards. I have my piece of tin picture frame with an old picture of my husbands late grandfather and his dump truck and a few other odds and ends I thought would be cute in here. On top I added some scattered pine cones and my little white deer. Also my vintage looking locker basket with my ironstone plates and bread board. I got this bread board from the thrift store and it was originally a blonde colored wood which didn't go with anything in my house, and since it's just for decoration I stained it a walnut color and love the aged look it gave it.


This cabinet is very special to me because it's one my grandfather, who has since passed away, built many years ago. He was an excellent woodworker and I cherish all the pieces I have that he created:)


I also moved my huge chalkboard over here that was in the dining room. Since we have moved the dining room, I thought this would be a good spot for it. This cabinet sits right when you enter the front door so beside it is my numbered coat rack made of old wood. It has some heavy duty vintage iron hooks so it can hold plenty of coats, which is nice since we do not have a coat closet.

It's funny how doing a little rearranging can really give a space a fresh new look and can make me so happy...I guess it's just the little things! Thank you for stopping by my blog...hope you will come back again to visit!


Tuesday, January 21, 2014

new dining room light

We have a million projects going on right now and we are slowly finishing them one by one, not to mention a pretty big remodel with adding a master bath as well. It's been complete chaos for the past few months, but I can finally see the light at the end of the tunnel:) With the new remodel I had to switch the location of the dining room. In the new space I didn't like my chandelier so I was out on a new mission to find a new light. The problem was everything I liked was hundreds and hundreds of dollars, which is not within our budget right now. I wanted a statement piece and something a little outside the box. Basically I came to the conclusion that it wasn't feasible to buy what I wanted so we would just have to make it ourselves. So I came up with a design that I liked and my husband built it (that's how we roll;)) I wanted something that had rustic and farmhouse elements because that's what I love. This is what we came up with.


We used a piece of old barnwood we had laying around the house as the base. I wanted the lights to have a chicken wire feel. I had thought about using actual chicken wire and molding it in the shape I wanted (a lot of hard work) and then I came across these waste baskets at the dollar store. They were white when I bought them so I spray painted them with oil rubbed bronze to give them the vintage look. They came out great! They are comparable to the chicken wire look I was going for and the best part is I have a whole $3 invested. We then bought the light sockets and chain at lowes. From there my husband did all the wiring and then built a small raised box on top of the barnwood to hide all the ugly wires. We then stained it all the same color to match. I love how it turned out and is exactly what I envisioned! Hope you all like it too!
Within the next few weeks we will be finishing up the master bath so I will be posting some pics and also of some of the other projects we are working on! Hope everyone has a Happy Tuesday!!